
Drivetrain Install
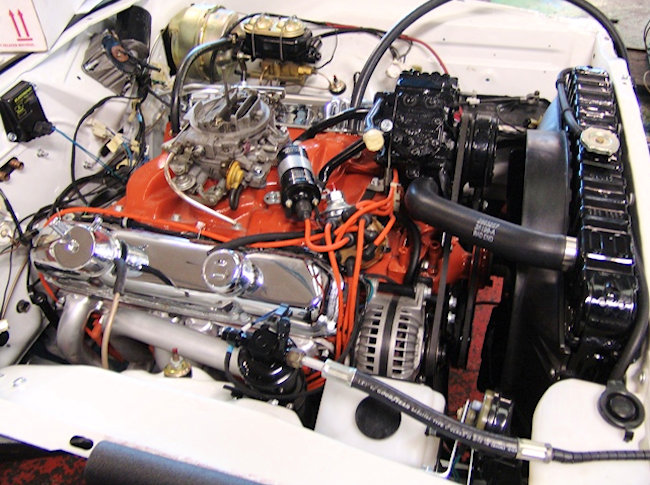
While the assembly of the car took place with all the smaller bits being installed, the fully restored drivetrain was also ready for installation. A big moment in any project, regardless of brand. The engine is obviously the heart and soul of any vehicle so it was a very exciting time. Fresh white paint recently sprayed, now the engine going back in, so cool man. After slow progress during body work, waiting to get into the paint shop, then the painting stage itself, it was refreshing to have everything going smoother and in a respectable time frame. Nothing like progress!
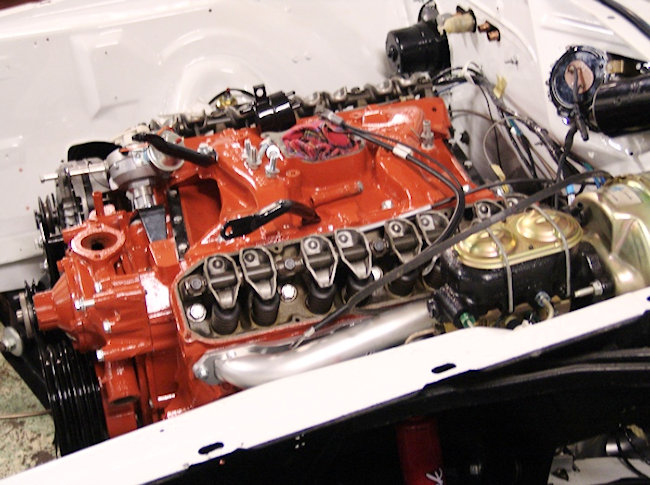
With some of the more cosmetic items like the air cleaner, valve covers, etc removed, the engine / transmission set up is fitted. Another resto milestone.
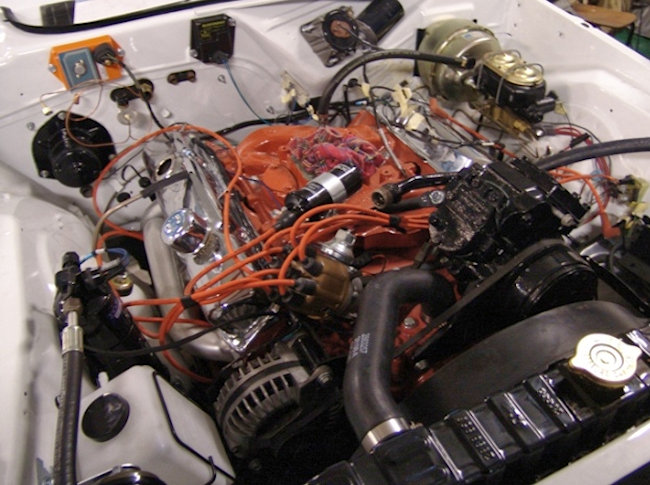
Radiator in, valve covers on, AC compressor unit mounted.

Washer and overflow bottles and horns installed.
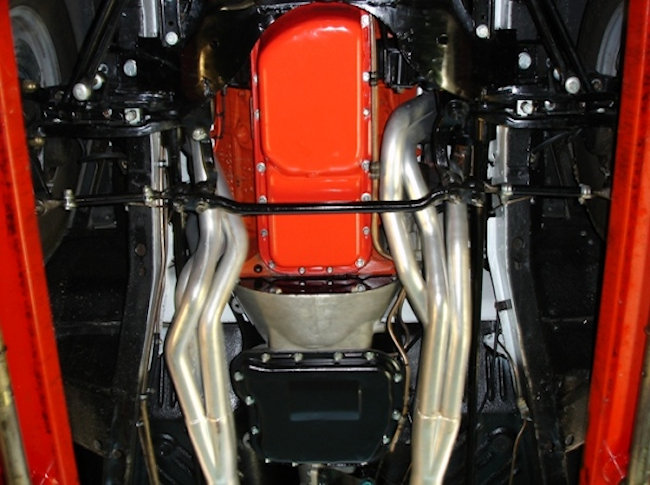
From underneath, showing the setup beautifully. The TTI headers are 1-7/8" tube size with 3" collectors. They're ceramic coated with thermal barrier insides. The Hemi also has TTI headers. If you're after the best headers with a near perfect fit, look no further.
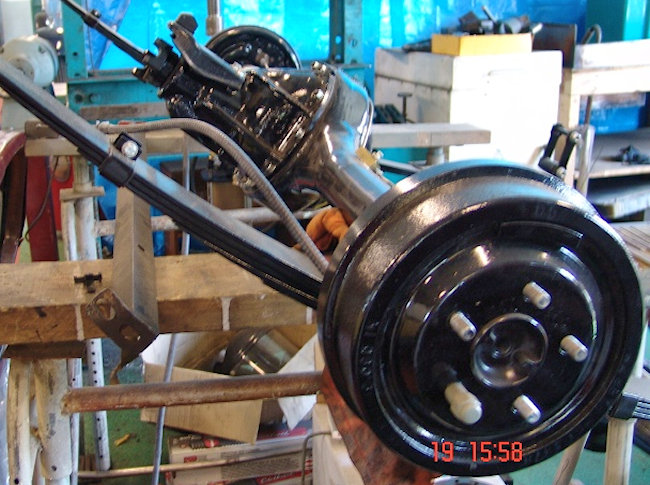
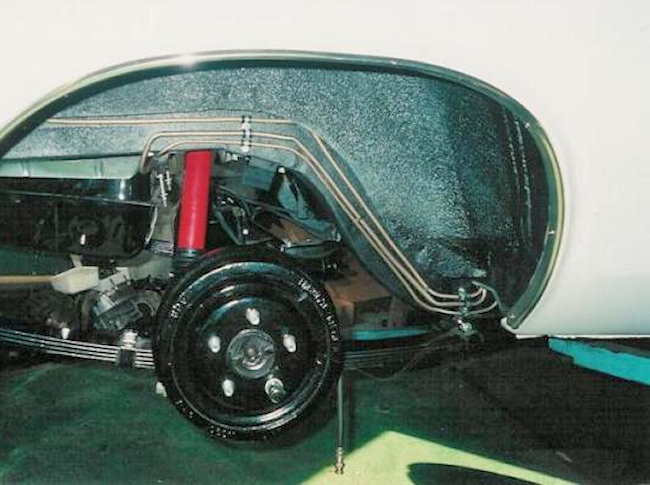
The factory 8-3/4" Suregrip rear end with drum brakes being set up. When I got the car she had very high gears, 2.91:1. So flat on the takeoff but on the highway, perfect. We eventually upgraded to 3.91:1 gears and it was a massive improvement in low down grunt and throttle response.
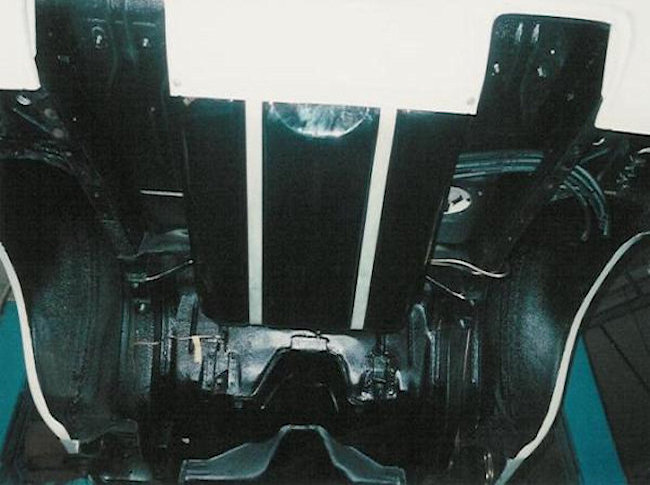
Fuel tank in and showing the underneath and the black compound nicely.
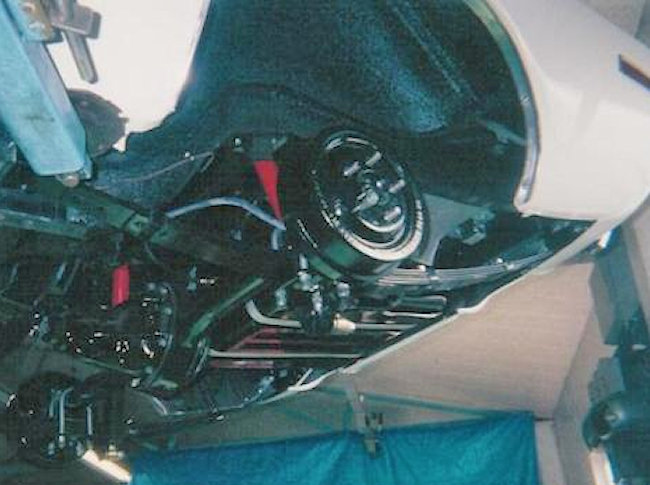
A photo taken by a potatoe (sorry!) showing the rear end up and in. She had Edelbrock IAS shocks which were fantastic for the stock set up.
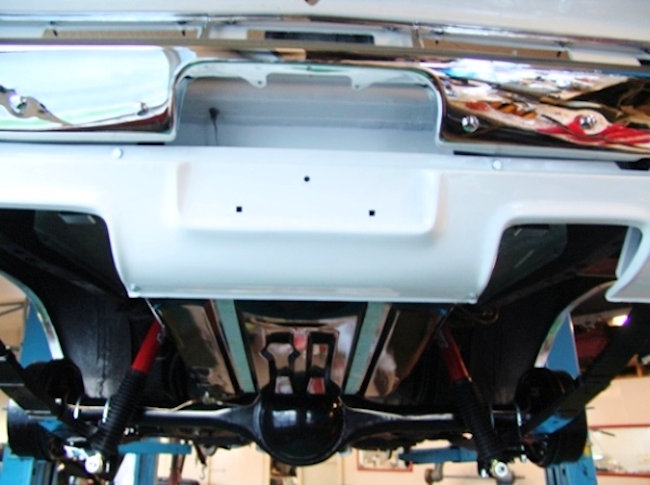
A shot from behind. Valance and bumper on and in.
Leafs, drums and fuel lines. Also showing the underbody seal (albeit flashed out by the camera).
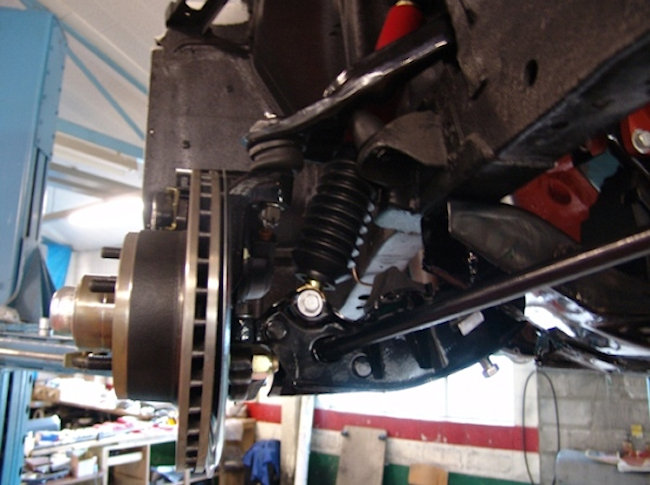
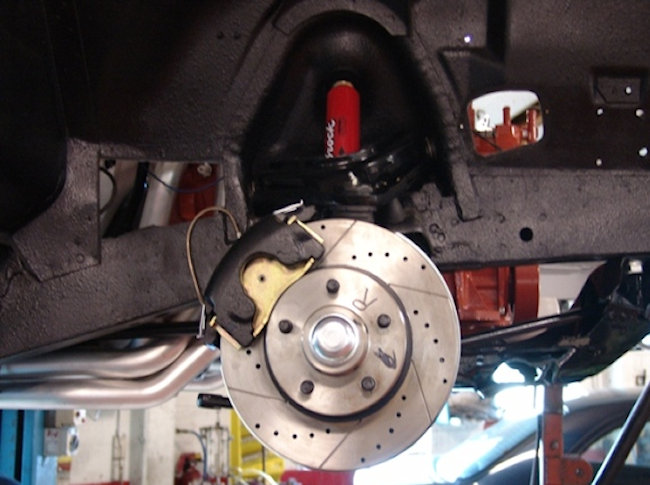
The 11 inch front disc brakes from MP Brakes.
From the side.
Interior Installation