Paint
This would have been one of my favourite stages in this restoration. Seeing her emerge with a brand new coat of paint was fantastic! She was painted PW7 - Chrysler / Mopar Bright White. Her previous "alpine white" is quite a creamy "white". I like my whites to be bright and crisp. For example, the on screen Vanishing Point car (1971) came across as a brighter white (especially pre-chase) due to camera filters, but in reality, it was more of creamy shade, which is something I don't really like and I wanted to match what I saw on film. I was absolutely over the moon. She was a totally different car and from that point on, to me, she became "Lucy".
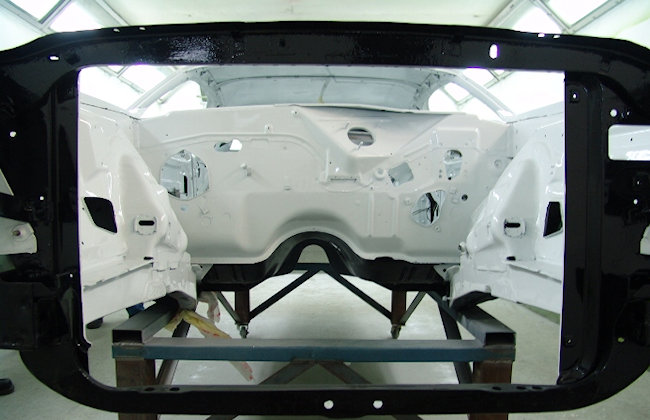
You'll notice in the photos below that the underside of the car is painted black using a special compound that reduces exhaust and road noise. It is also 3 or 4 times more durable than paint. During this build I didn't want to be "factory correct" if it meant sacrificing durability and longevity. All the top designers, such as Chip Foose, Troy Trepanier and Julius, use this on their cars. Another added bonus using this compound is 1, 2 or 10 years later you can hoist it up, power blast the underside and it will be just like new again. Try doing that with a "factory correct" paint job!
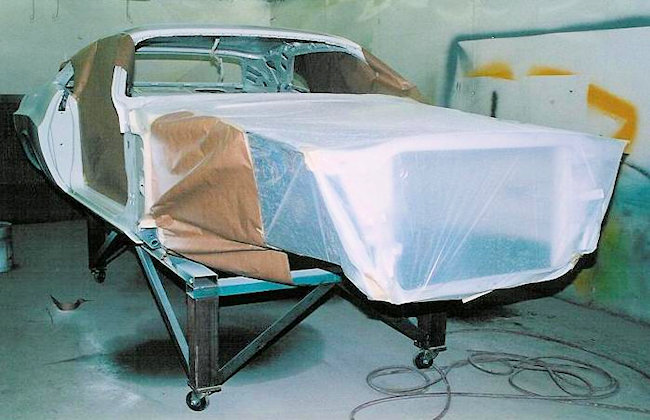
Masking and prep during the first primer coats.
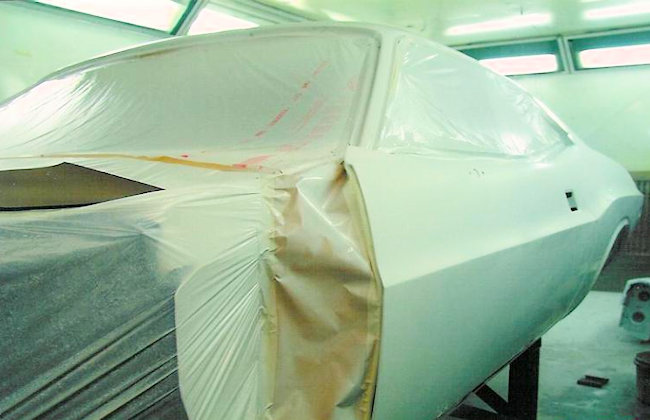
Closer up in the booth...
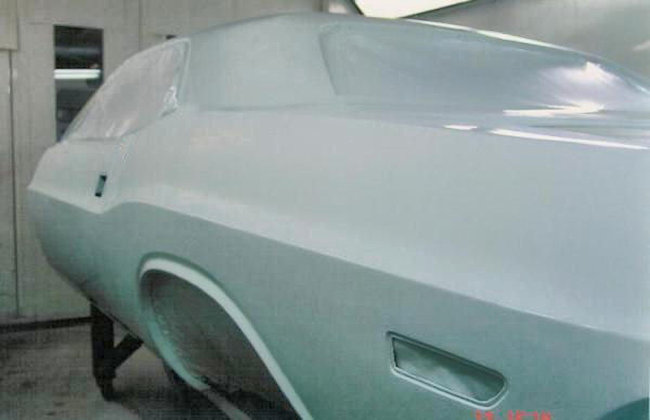
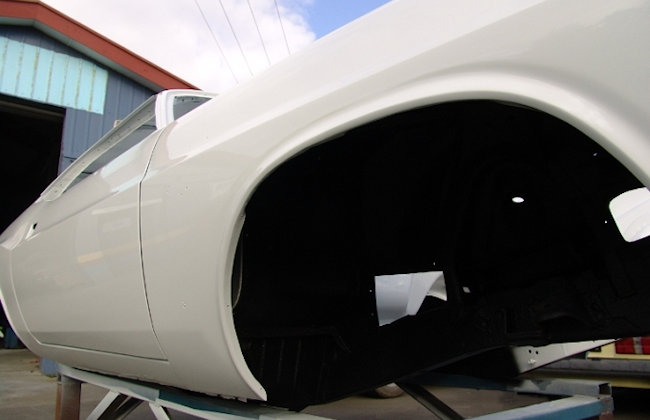
Love that body line! Hips!
Now we're talking! Engine bay in it's first coat.
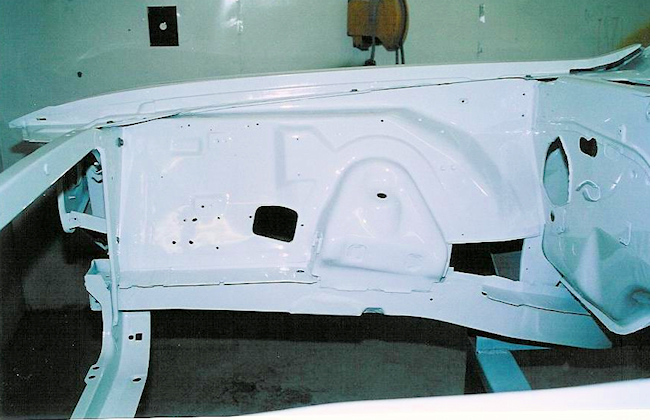
Drivers side...
Note the black out treatment of the front radiator support area. These were painted black from the factory, not body colour (in this case, white). A lot of people make the mistake of painting it body colour. Once the grille is on and the car is complete, it stands out like a sore thumb through the grille and distracts from that iconic masterpiece... especially when the car is a high impact colour like sublime, plum crazy or even white.
Getting there!
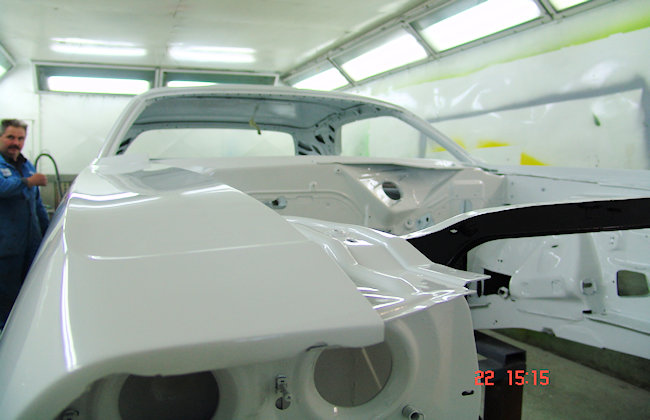
Top of the fender and headlight mounting holes.
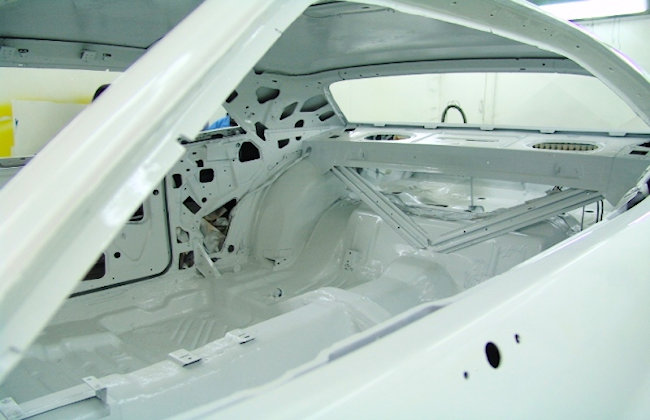
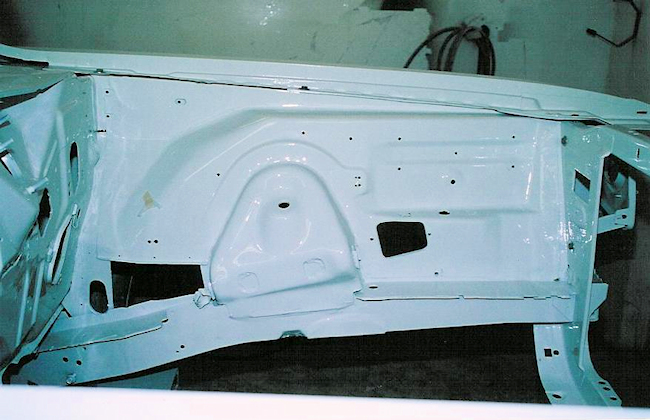
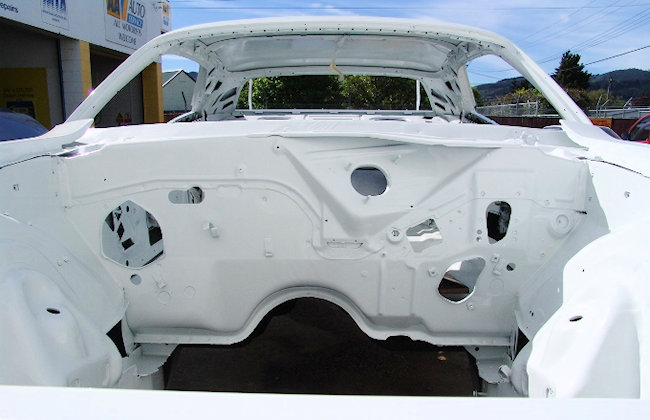
Interior. It'll never be seen with interior installed but has to be done.
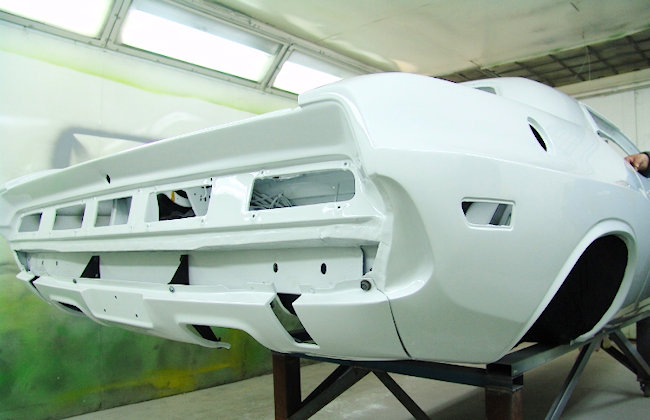
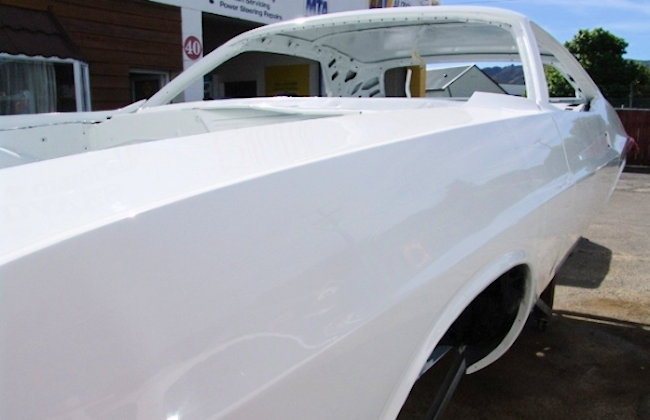
Rear valance on for spraying, not in position yet. Quarters look perfect.
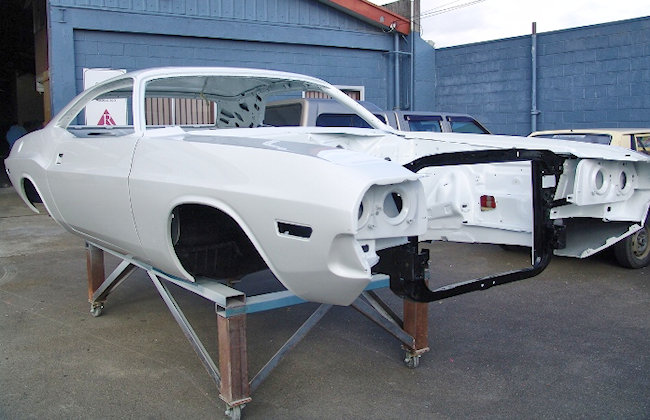
DONE! This was one of the best moments and memories for me during the entire restoration process. Seeing her outside of that confined paint booth in natural light, gave me goosebumps. It also gave me a great insight to how the car will be when completed. I was extremely stoked, my dream was coming true... my very own white 1970 Dodge Challenger R/T. Unreal.
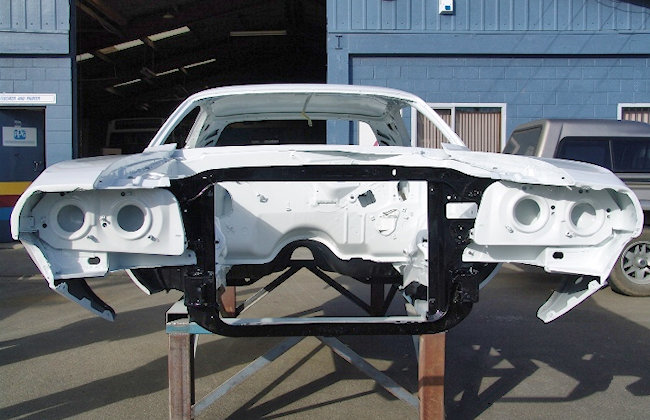
A better shot from the front showing the black out radiator support.
The inner wells and underside of the car were paint black using a rubber robust compound described above.
Fresh white fenders.
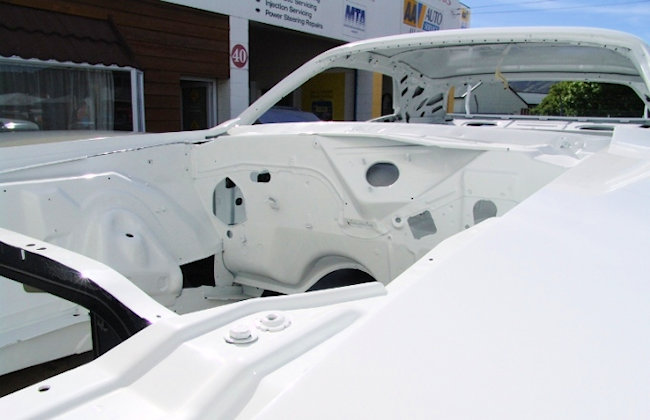
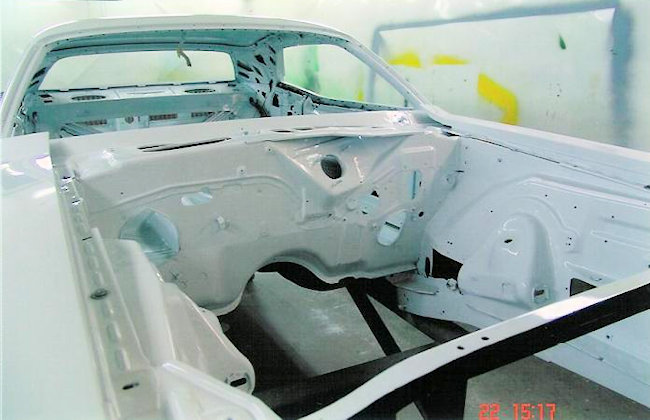
Peeking into the bay...
The engine bay / firewall. Next stage... Assembly