Assembly
With the Challenger safely back at the restoration shop, the re-assembly process began. This was a little slow as there were a lot of smaller pats that had to be installed that albeit important, they were time consuming to install so going in every week to check in, the car always felt and looked the same as last week. The "noticeable differences" were insignificant and hard to spot so progress at times felt pretty slow. Items like moldings, small trim rings and rubber seals, turn signal lights, hinges, body plugs, wiring etc. Still... she was painted and progress, is progress. Sourcing hard to find parts was the only major issue of which I done the majority of while the car was in the paint shop.
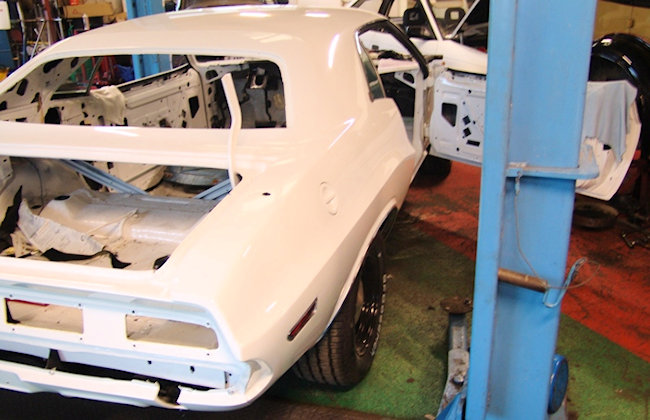
Fresh paint, ready to start the re-assembly process.
Bits of trim, hinges, odds and ends...
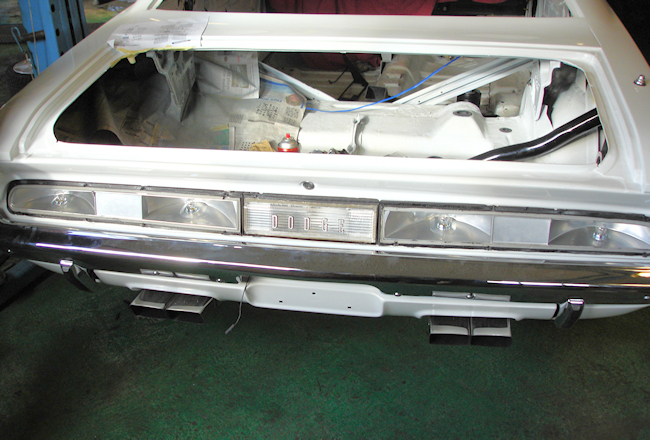
Getting the finicky taillight together and in with the sealing.

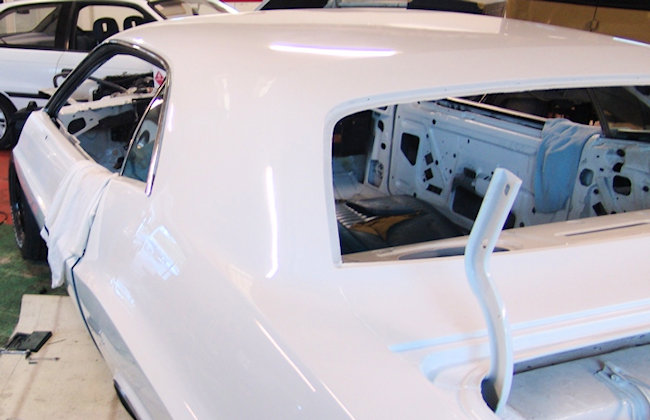
Getting the doors re-aligned and starting the interior wiring.
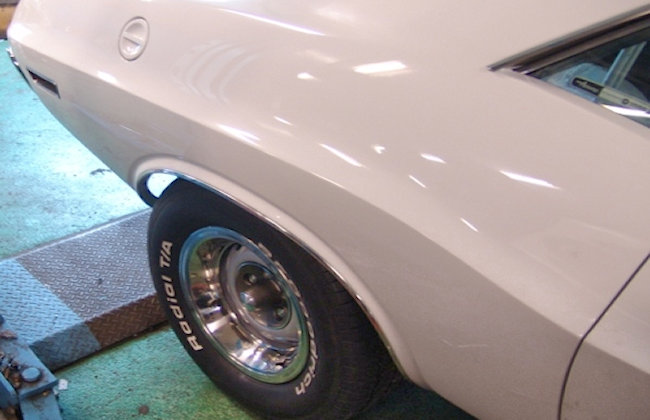
New Rallye wheels on. I originally had dog dish rims but decided to stick with Rallyes. I also went with the 1971 dark argent center caps, not the "correct" silver colour (same as the wheel). This break's it up nicely, again, just personal preference.

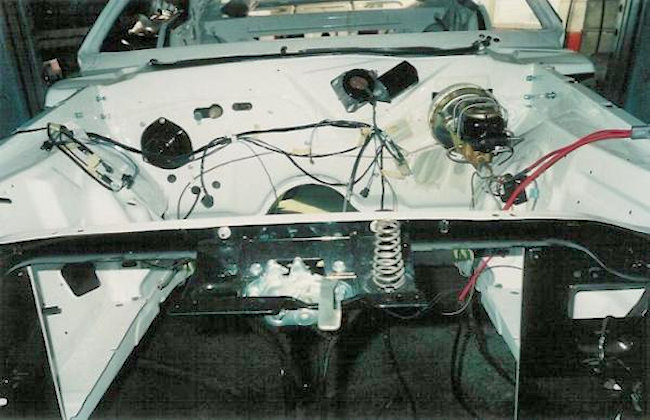
The power booster, wiper motor and wiring being installed...
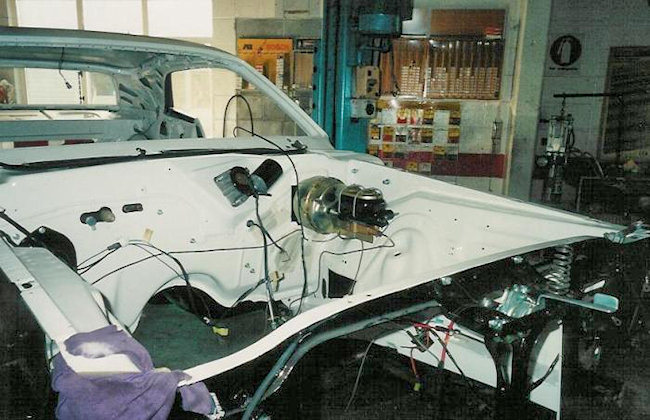
A good indication of just how big the (MP Brakes) brake booster and set up is. We changed this later with the Hemi conversion to a Hydroboost braking system. More modern, better braking (she now has 4 x discs) and a lot smaller.

Headliner installed. Quite an art to this. Tricky if you don't know what you're doing but the shop who installed this done a great job. Tight, no marks, no saggy spots, perfect.

Behind the dash AC components and ducts, heater box, pedal assembly, insulation. So clean and fresh. Love seeing this stuff.
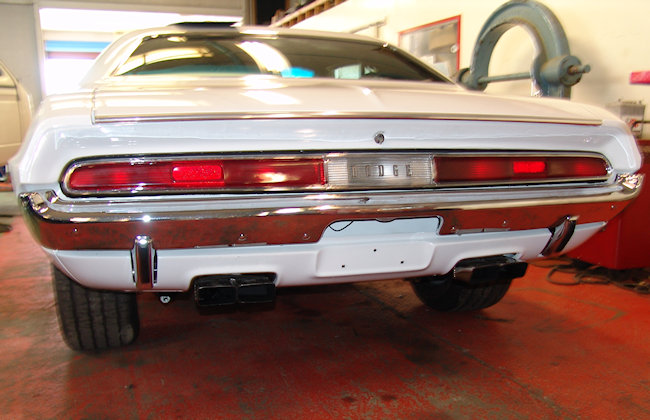
Taillights in, rear bumper on with fresh new chrome (not cheap!)
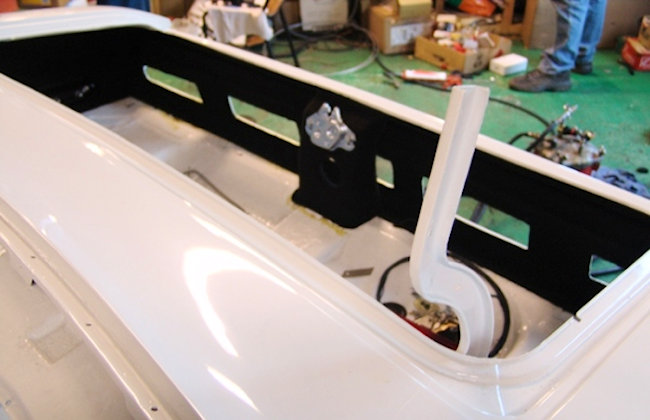
Beginning to install the custom black lining in the truck. I didn't want the factory correct body colour paint with a thin mat so went custom with a thick black removable carpet style mat which you'll see complete later in the process.
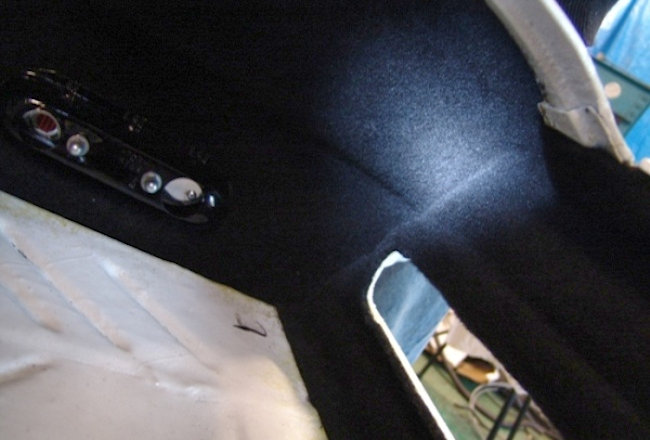
Closer up, showing the detail. Right up into the corners where no one will ever see it but, got to be done right!
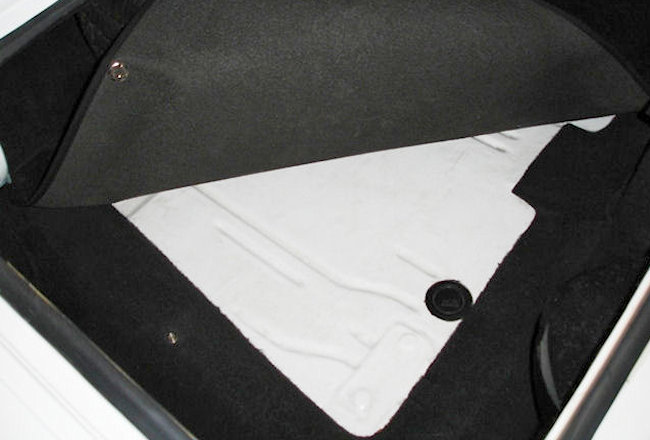
The "clip in" removable mat. Simple, effective and functional.
Right... time for the Engine Build