
Interior Installation
The Interior came together within a few months (waiting for parts, delays, etc). The most awkward pieces were the reproduction door panels; the worst product of the entire restoration. The grain of the panels was "so so" but the fit was shocking. We went through 2 sets and in the end needed to use the original B5 Blue door panels. We dyed and restored these and they came out fantastic. For the best results, in my personal opinion, find good or excellent condition factory original panels then dye / restore them.
Some hardcore car folks may have noticed in the body & paint section that I decided to convert the car from the original column shift bucket seat configuration, to a console shift, "Slap-Stik" vehicle. Since a previous owner replaced the original buckets with a bench seat, I now had to find some 1970 Challenger bucket seats. These were found with relative ease which came as quite a surprise. It took around 5 to 6 weeks to locate some decent seat cores off eBay which we re-cored and recovered using Legendary interior pieces from the States. This was sourced prior to needing them so there was no delay to the restoration.
I also sourced a correct 1970 console and Slap-Stik set up from the U.S.A. The main change for the interior was the most expensive one. Changing the B5 Blue interior to black was not a cheap option, but one that I considered a must. White exterior with a bright blue interior would not have worked for me. That colour combo would have been too much of a contrast, especially with all the interior being brand new and shiny. We purchased the following new black items: dash, carpet, headliner, console, sun visors, mouldings, door panels, rear panels, kick panels, the works!
The restoration was temporarily delayed for a month as the carpet we received from Year One in the U.S.A had a hole in it. It was replaced by Year One within 2-3 weeks which was great service but nevertheless, time consuming. The Console, Harms Tilt-Pistol Grip shifter, seats and frames etc were fitted in quick succession so it was a very exciting time indeed. We also purchased quite a few NOS parts like door handles, mirrors, dash parts, power window switches, tuff steering wheel, etc. NOS = "new old stock" which in layman's terms means it's brand new in box parts made back when the cars were new. For classic car guys and restoration, this stuff is pure gold.
While these cars were well made and solid, to me, they have many items that could have been done better, as you'd expect from a car manufactured 50+ years ago (2020) and it goes for any classic car brand. Mopar muscle cars were shoved out the door with all the attention on the big engines, drivetrain and speed items. "Win on Sunday, Sell on Monday" was their drag racing and NASCAR slogan, so things like the interior were lacking in a little attention to detail.
Wherever possible, these were replaced with modern pieces such as new electronic ignition, modern shocks, distributor, alternator, CD player, etc. The goal was to have a factory appearing car that used the best parts from then and today. Something I feel we certainly accomplished. We took this several steps forward with the eventual Hemi conversion with removing the bulky AC unit, weight reduction and adding components like the 3-link adjustable rear suspensions, 4 x disc brakes, electronic fuel injection with lap top tuning, racing gauges, etc.
This stage was a very fun stage, seeing seats etc meant I was close to sitting in her and feeling the wheel and vibe. It's amazing the amount of detail you miss if you haven't been through a restoration before. For example: We had to send the A/C vents up North to one of the only places in New Zealand that could correctly touch up the "silver" paint. Something, until now, I rarely took much notice of. Now when I see items like the A/C vents, for example, I appreciate the time and detail that has gone into every inch of this Challenger. The little details you would usually overlook, take a lot of time, effort and craftsmanship.
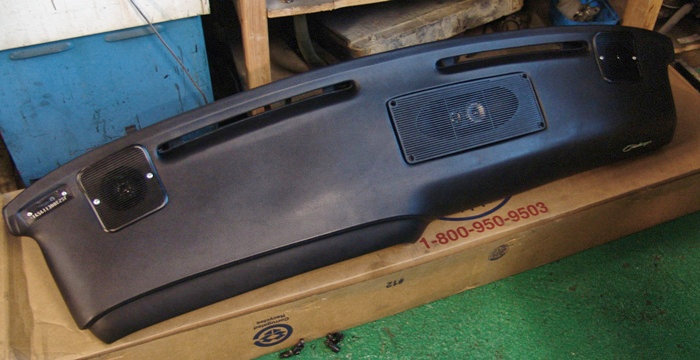
New black dash with new speakers and VIN tag installed.
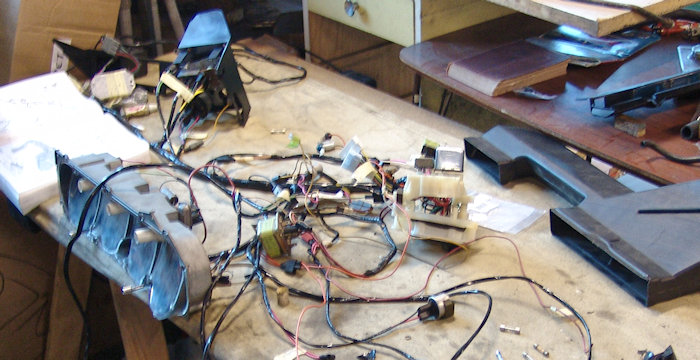
A new wiring loom was ordered. Organised chaos!
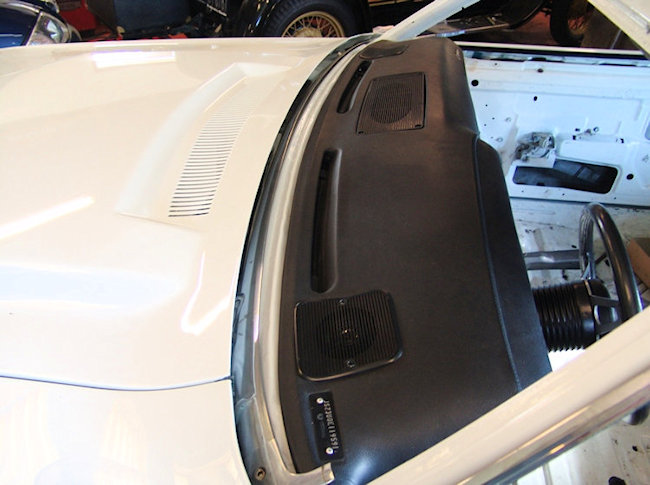
New dash unit and wired up and installed.
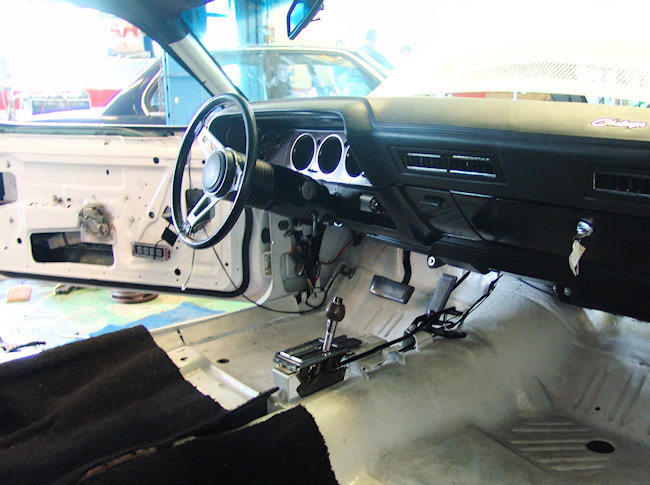
Steering column and wheel in, Slap-Stik shifter and linkage in, more dash components and rear carpert in. Progress!

Original bucket seats sourced from the U.S.A covered in fresh new factory correct black vinyl interior.
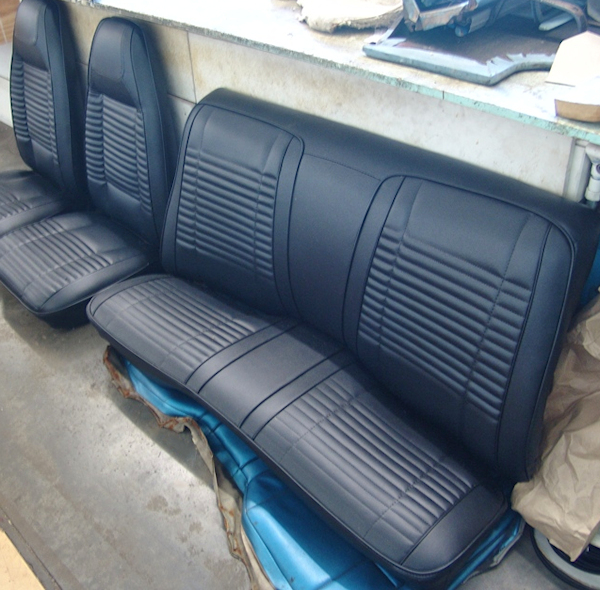
The rear (original) seat sitting on top if the old B5-Blue cover. The upholster guy wanted to hold on to the old covers until we had the new ones on, so he had factory correct originals to use as reference to make sure they were perfect.
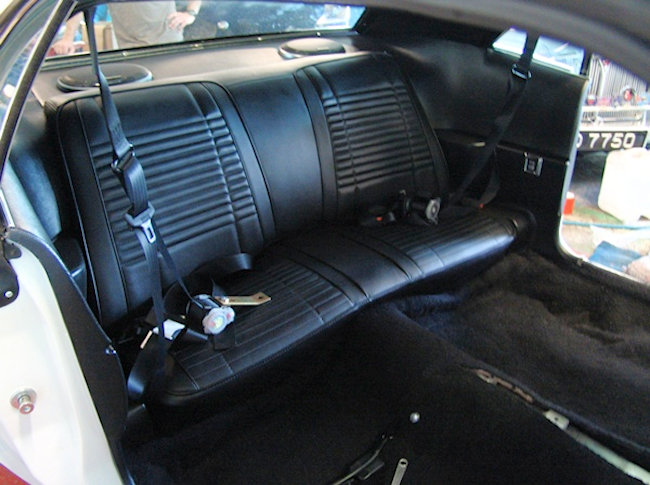
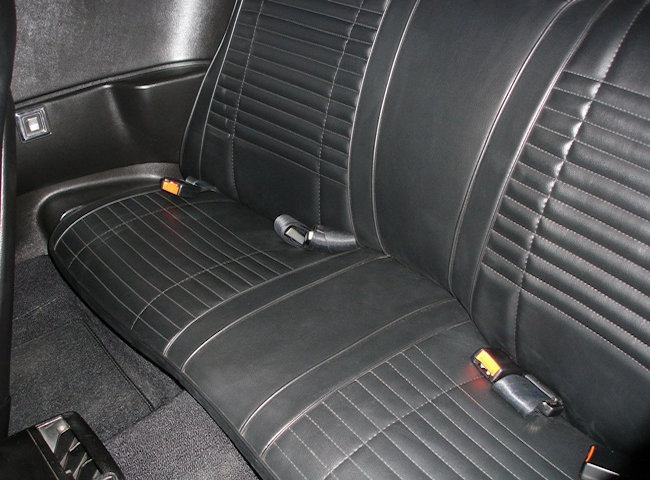
Another very exciting day seeing the rear seat and the rear parcel tray with speakers in + the new (NZ standard) seat belts which are much safer and just better all around.
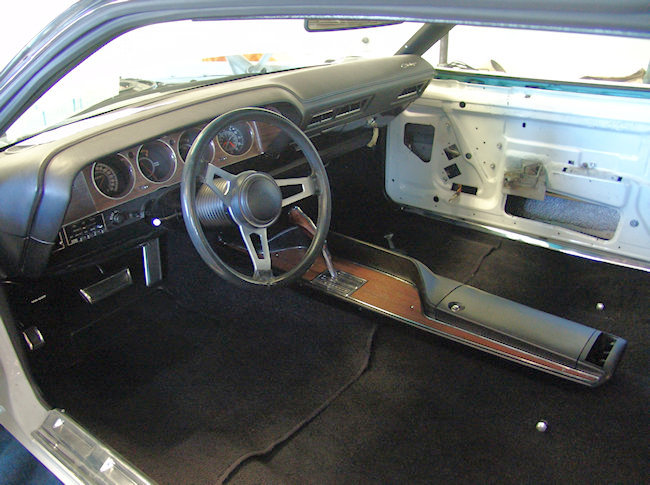
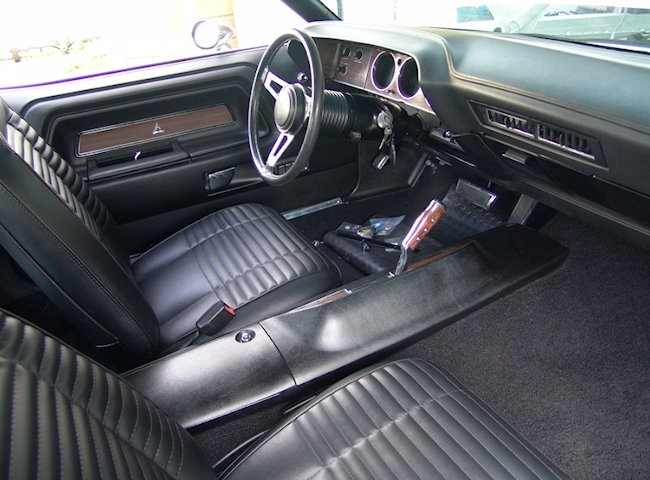
Front carpet, console and pistol grip shifter in! Pedal bezels also on.
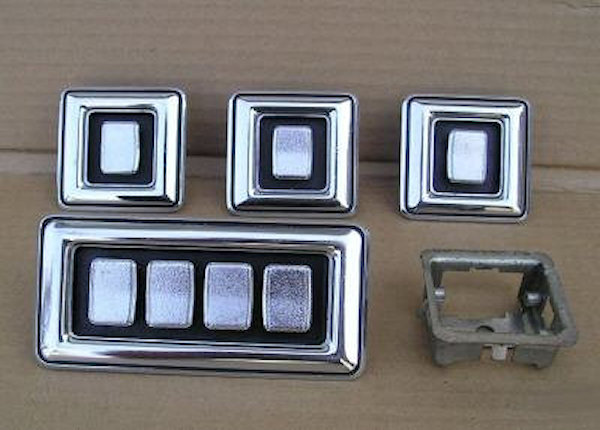
Some of the new NOS parts I got, the power window switches. This car had some pretty high end options for 50 years ago. Power windows, power brakes, power steering, electric windows and air conditioning.
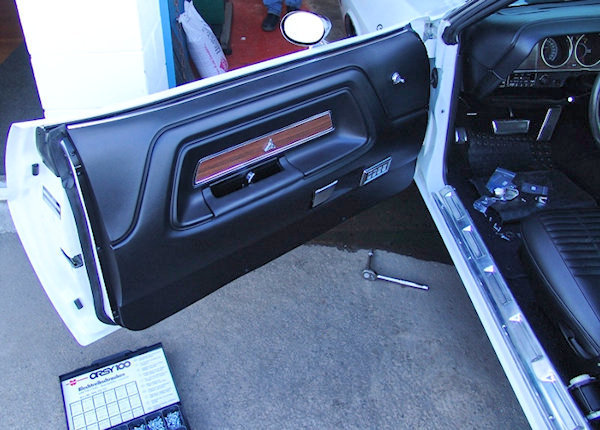
The door panels in and looking absolutely perfect! Such a big part of the interior. The main parts of these Challengers and Cudas (E-Body) vehicles are: dash, seats and door panels. These doors are huge and being a 2-door hardtop, are the first thing you see when getting in. Like the rest of the car... it's got to be perfect.
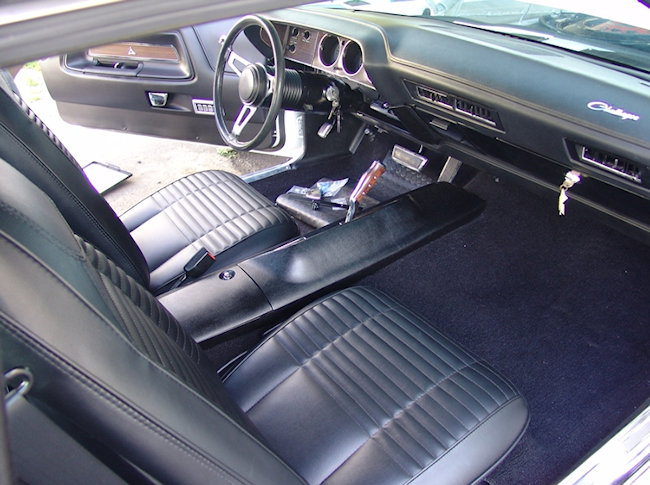
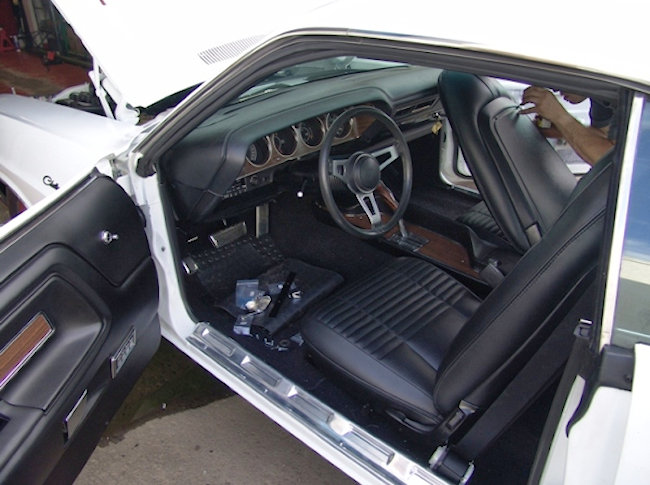
SO STOKED. The front seats in... at this stage, it literally feels like you are finished and can take it home, such a tease. So close... but not yet....
Doing some of the smaller details like blacking out the seat back screws to give a much cleaner appearance. Not factory... better.
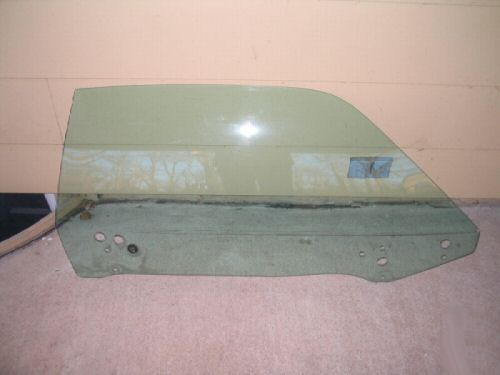
The new factory correct "green tint" windows. We ordered 2 x front and 2 x rear quarter windows. The original front windshield was in great shape so a new one wasn't required. A lot of hassle getting such a fragile shipment like glass from the U.S.A (not cheap!!). New Zealand muscle car and classic car guys definitely do it tough when it come to sourcing parts from the U.S.A. A testament to how passionate and dedicated we are.
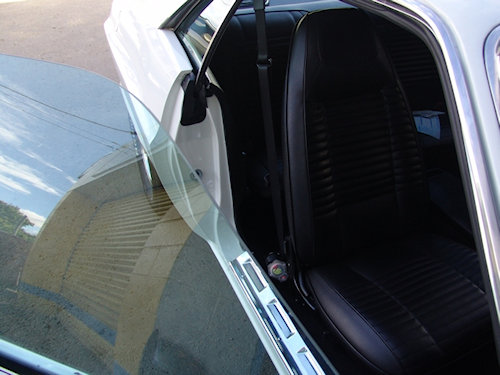
The glass in. So unusual with "green tint". You don't notice it's green on a day to day basis but now that it's been pointed it, it definitely has that green tinge to it. Very 70s! Also note the new sill plates along the door entrance. Getting there now...
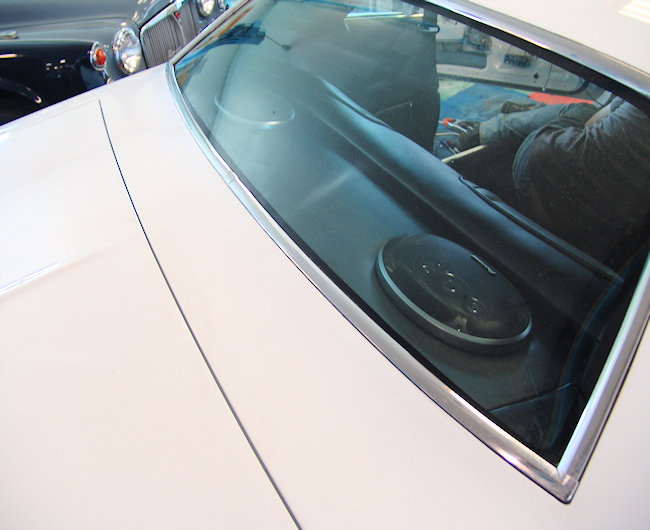
Rear window back in and the trim looking sharp. Such a difference to how she was with the rusty rear window area. Better than new now. A good close up of the new Pioneer speakers too. These are grunty 6 x 9"s powered by a amp. A lot of PUNCH. I hardly listen to the music... that's what the Hemi is for!

The headunit I chose back in 2005, a Pioneer DEH-P9600MP. Even in 2020 it does the trick and I have no plans to update it. Due to the location of the Challengers headunit, I wanted something that flipped out and was easy to use while driving, this design with it's rotary volume dial ticked the boxes plus it's nice with the colourful little display screen.
A (camera flashed out pic) of the rear seat and seat belt set up.

This website is under construction. Publish to see your most recent changes when navigating menu buttons or links below. Publish does not mean go live. Publish is a "2nd step save" that has more significance once you are live. Once you are finished viewing this under construction page, please close this browser window or tab, and return to the content management system. If you navigate to another page, you will enter the published area, and not see WIP changes. This message, and any under construction banner, will be removed once your website is live.